How to Make Easy 10-Minute Gravy: The Ultimate Guide
Tired of lackluster, lumpy gravy that takes an age to prepare? Imagine a rich, savory, homemade gravy that comes together in just 10 minutes, transforming any meal into a culinary masterpiece. Learning
how to make gravy from scratch is a foundational skill for any home cook, and thankfully, it’s far simpler than you might think. Forget the store-bought stuff; with this ultimate guide, you'll whip up delicious, customizable gravy that will have everyone asking for your secret recipe.
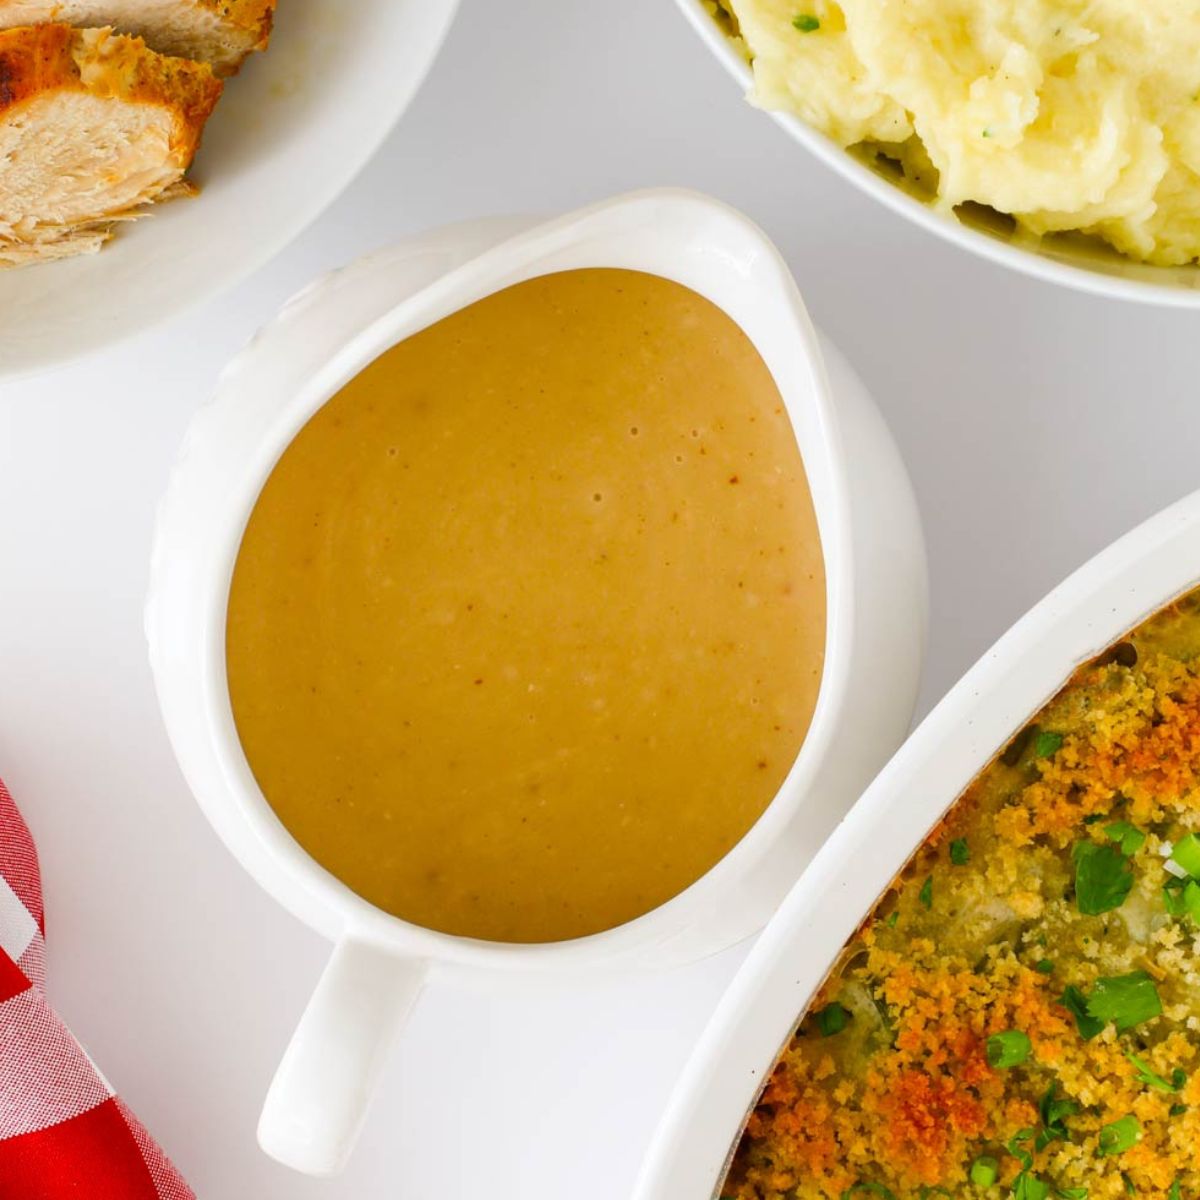
Whether you're slathering it over fluffy mashed potatoes, drizzling it onto a succulent turkey or pot roast, or even serving up a hearty sausage gravy with biscuits, homemade gravy elevates every dish. It’s incredibly versatile, requires only a handful of ingredients, and allows for endless customization. Let's dive into the world of quick and easy gravy!
Why Homemade Gravy Beats Store-Bought Every Time
The allure of homemade gravy lies in its unparalleled flavor and freshness. Unlike the often artificial taste of packaged gravies, making your own allows you to control every ingredient, from the type of fat to the richness of the broth. You can adjust seasonings to your exact preference, ensuring a perfect complement to your meal. Plus, the satisfaction of creating something so delicious from scratch is a reward in itself.
The speed at which you can create a high-quality gravy is another huge win. With a few simple steps and the right technique, you can literally go from zero to gravy in about ten minutes – perfect for busy weeknights or last-minute holiday additions.
The Essential Ingredients for Your 10-Minute Gravy Masterpiece
Making fantastic gravy requires just three core components, plus your choice of seasonings: fat, thickener, and liquid. The beauty is in the choices you make for each:
*
The Fat Foundation: This is where flavor truly begins.
*
Butter: A classic choice, butter provides a rich, creamy flavor that complements most dishes beautifully.
*
Bacon Fat: For an intensely savory gravy, especially for breakfast fare like biscuits or certain roasts, bacon fat is unbeatable.
*
Other Oils: Vegetable oil, coconut oil, or margarine can also be used, offering a more neutral base.
*
Pan Drippings: The flavorful juices and fat rendered from roasted meats (like turkey, chicken, or beef) are arguably the best base for gravy, offering depth and authentic taste. We’ll explore using these more below.
*
The Thickener: This is what gives gravy its luscious, flowing consistency.
*
All-Purpose Flour: The traditional choice for a classic, smooth gravy. Flour-based gravies tend to be opaque and have a lovely mouthfeel.
*
Cornstarch: An excellent gluten-free alternative. Cornstarch creates a clear, glossy gravy and is a more powerful thickener, so you'll need less of it than flour.
*
The Liquid Lifeline: This forms the bulk of your gravy and provides its core flavor profile.
*
Broths & Stocks: Chicken, beef, turkey, or even vegetable broth (for a vegetarian gravy) are fantastic starting points. Using a good quality broth or homemade stock will significantly enhance your gravy’s taste.
*
Pan Drippings: Again, the liquid remaining after roasting meat is gold. It's packed with concentrated flavor.
*
Milk: For creamy gravies like a classic white gravy, or to add a creamy texture to a meat-based gravy, milk is your go-to. This is perfect for dishes like fried pork chops or chicken-fried steak.
Mastering the Roux: The Heart of Perfect Gravy
The secret to perfectly smooth, lump-free gravy lies in mastering the roux. A roux is simply a cooked mixture of fat and flour, which serves as the primary thickening agent for your gravy. Once you understand the roux, you've unlocked the fundamental step in
how to make gravy like a pro.
Here's how to create a basic roux and turn it into gravy:
1.
Melt the Fat: In a saucepan over medium heat, melt your chosen fat. For a medium-thick gravy, a good starting point is about 2 tablespoons of fat per 2 cups of liquid.
2.
Add the Flour: Once the fat is melted and slightly shimmering, whisk in an equal amount of all-purpose flour (so, 2 tablespoons of flour for 2 tablespoons of fat). For a rich and robust gravy, you can delve deeper into
Gravy Secrets Revealed: Roux, Creamy Varieties, & Roasting Pan Tips.
3.
Cook the Roux: Continue whisking constantly for 1-2 minutes. This cooks out the raw flour taste. The color of your roux will depend on how long you cook it – a pale roux is best for lighter gravies, while a slightly darker roux (cooked for a few minutes longer) offers a nuttier flavor for heartier gravies. For our 10-minute gravy, keep it light.
4.
Whisk in the Liquid: Slowly pour in your chosen liquid (broth, stock, or milk) while continuously whisking to prevent lumps. Start with a small amount to create a thick paste, then gradually add the rest.
5.
Simmer to Thicken: Bring the mixture to a gentle simmer, continuing to whisk occasionally. As it heats, the gravy will begin to thicken. This usually takes only 3-5 minutes. If it’s too thick, add a splash more liquid. If it’s not thick enough, you can make a small slurry of cornstarch and cold water (1 tsp cornstarch mixed with 1 tbsp cold water) and whisk it in, letting it simmer for another minute.
6.
Season and Serve: Taste your gravy and season generously with salt, freshly ground black pepper, and any desired herbs (like thyme or sage). Your easy, delicious gravy is now ready to serve!
Elevating Your Gravy: Drippings, Roasting Pans, and Gluten-Free Options
While the basic method is fantastic, certain techniques can take your gravy to the next level, especially when dealing with roasted meats. For more detailed insights into various bases and dietary considerations, check out
Master Homemade Gravy: Broth, Drippings, & Gluten-Free Choices.
Using Flavorful Pan Drippings
Pan drippings are liquid gold – the flavorful juices, fat, and browned bits left in the pan after roasting meat. Using them is a cornerstone of making truly exceptional gravy.
1.
Separate the Fat: After removing your roast, pour the pan drippings through a fine-mesh strainer into a glass liquid measuring cup. This helps remove any gristle or large solids and allows the fat to separate and rise to the top.
2.
Skim the Fat: Once the fat has separated, use a spoon or a fat separator to skim off the excess fat, leaving about 2-3 tablespoons of flavorful fat in the measuring cup. You'll use this fat for your roux, along with the rich liquid drippings.
3.
Measure and Proceed: Note how much liquid dripping you have. You'll then use this liquid as part of your gravy's liquid component, supplementing with broth if needed to reach your desired volume.
Making Gravy Directly in the Roasting Pan
This is a fantastic trick for maximizing flavor and minimizing cleanup when you’ve just finished roasting meat.
1.
Skim and Scrape: With the roasting pan still hot from your cooked meat, carefully skim off any excess fat and large bits of gristle. Leave about 1/4 cup of the flavorful drippings (fat and juices) in the pan.
2.
Create a Slurry: In a small bowl, whisk together 2 tablespoons of cornstarch with about 1/4 cup of cold water or cold broth to create a smooth slurry.
3.
Thicken in the Pan: Pour the cornstarch slurry directly into the hot roasting pan. Immediately and vigorously whisk, scraping up all the browned bits (fond) from the bottom of the pan. The residual heat will quickly activate the cornstarch, thickening the gravy. Continue whisking until the gravy reaches your desired consistency, usually within a minute or two. Add more broth if it's too thick.
4.
Season and Serve: Taste and season generously. This method is incredibly fast and yields an incredibly flavorful gravy.
Gluten-Free Gravy: The Cornstarch Solution
Making gluten-free gravy is surprisingly simple with cornstarch. Remember, cornstarch is a much more potent thickener than flour, so you’ll need to adjust the quantities.
*
Substitution Ratio: For every 1/4 cup of all-purpose flour a recipe calls for, use 2 tablespoons of cornstarch.
*
Method: Instead of making a roux with fat and flour, you'll create a cornstarch slurry. Dissolve the cornstarch in an equal amount of cold liquid (water, broth, or milk) until smooth. Then, gradually whisk this slurry into your hot pan drippings or broth, bringing it to a simmer until thickened. Always add cornstarch slurry to hot liquid, not cold, for optimal thickening.
Creamy Gravies: The Milk Variation
For dishes like sausage gravy, chicken-fried steak, or country-fried pork chops, a creamy, milk-based gravy is essential.
*
White Gravy Base: Instead of broth, use milk (whole milk works best for richness) as your primary liquid in the roux method.
*
Creamy Meat Gravy: You can also add a splash of milk or cream to any meat-based gravy (chicken, beef, turkey) at the end of cooking for a silkier, richer, and creamier finish.
Pro Tips for Gravy Perfection
*
Constant Whisking: This is your best defense against lumps, especially when adding flour to fat and liquid to the roux.
*
Season Liberally: Gravy needs bold seasoning. Don't be afraid to taste and adjust with salt, pepper, and herbs throughout the process. A pinch of onion or garlic powder can also enhance flavor.
*
Adjust Consistency: If your gravy is too thick, whisk in a little more hot broth or water. If it's too thin, simmer it longer to reduce, or add a small cornstarch slurry (as described above) for a quick fix.
*
Strain for Smoothness: If you do end up with a few lumps, simply pass the finished gravy through a fine-mesh strainer before serving.
Conclusion
Learning
how to make gravy is a skill that will pay dividends in your kitchen, transforming ordinary meals into extraordinary experiences. With just 10 minutes and a few simple ingredients, you can create a rich, flavorful, and perfectly smooth gravy that far surpasses anything you'd buy from a jar. Experiment with different fats, broths, and seasonings to find your signature gravy, and get ready to impress your family and friends with this truly easy culinary masterpiece. Happy gravying!