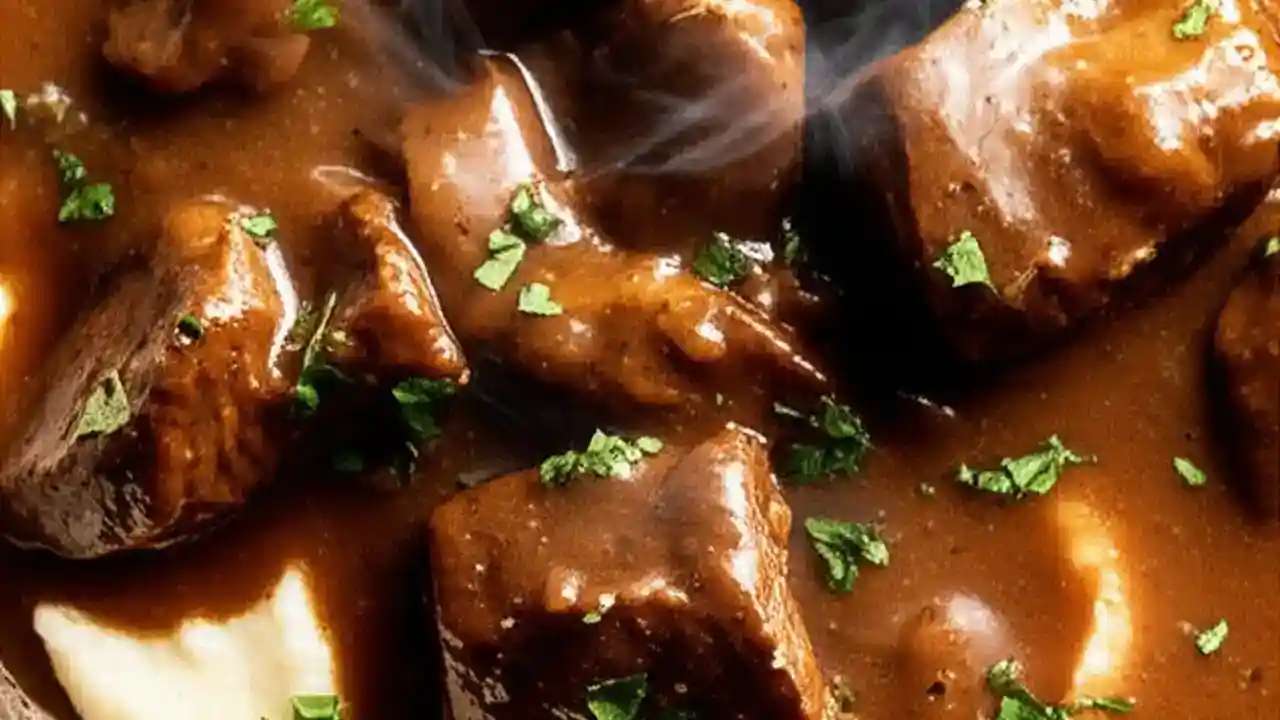
Unlock the secrets to truly exceptional gravy and elevate any meal from ordinary to extraordinary. Forget bland, store-bought packets; crafting homemade gravy is an essential, yet surprisingly simple, skill for any home cook. In just about 10 minutes, you can whip up a rich, flavorful accompaniment that perfectly complements everything from roasted turkey and mashed potatoes to biscuits and pot roast. Our ultimate guide will demystify the process, revealing how a foundational roux, the magic of pan drippings, and a few clever tricks can transform your cooking.
The Foundation: Mastering the Roux for Perfect Gravy
At the heart of many incredible gravies lies the simple, yet crucial, technique of making a roux. A roux is a cooked mixture of fat and flour, acting as the primary thickening agent that gives gravy its signature luscious texture. Understanding how to create a good roux is paramount for anyone wondering how to make gravy that's smooth and lump-free.
Choosing Your Fat and Thickener
The flavor journey of your gravy begins with your choice of fat. While various options exist, some stand out for their flavor contributions:
- Butter: The classic choice, butter imparts a rich, creamy flavor that's hard to beat. It's versatile for almost any gravy.
- Bacon Fat: For gravies accompanying pork dishes or breakfast items like sausage gravy, rendered bacon fat offers unparalleled smoky depth.
- Vegetable Oil or Coconut Oil: These are excellent neutral options if you prefer the flavor of your broth or drippings to shine without interference. They also work well for vegetarian gravies.
- Margarine: A suitable alternative if you're avoiding dairy, though it may lack the full flavor profile of butter.
For thickeners, you primarily have two choices:
- All-Purpose Flour: The traditional choice, flour-based gravies tend to have a more opaque appearance and a classic, comforting texture.
- Cornstarch: An excellent gluten-free alternative. Cornstarch creates a gravy that's often glossier and more translucent. Remember, cornstarch is a more potent thickener, so you'll typically use half the amount you would for flour.
Crafting Your Roux: Step-by-Step
To make a basic roux:
- Melt the Fat: In a saucepan over medium heat, melt your chosen fat. A good starting point for about 2 cups of gravy is 2-3 tablespoons of fat.
- Add the Flour: Once the fat is melted and shimmering, whisk in an equal amount of all-purpose flour (e.g., 2-3 tablespoons of flour for 2-3 tablespoons of fat). This ratio typically yields a medium-thick gravy. Continue whisking constantly to combine the fat and flour into a smooth paste.
- Cook Briefly: Cook the roux for 1-2 minutes, continuing to whisk. This cooks out the raw flour taste. For a lighter-colored gravy (ideal for chicken or turkey), aim for a pale, straw-colored roux. For a richer, nuttier flavor (great for beef gravy), you can cook it a bit longer until it reaches a light golden-brown, but be careful not to burn it.
- Whisk in Liquid: Gradually whisk in your liquid of choice (broth, stock, milk, or a combination – more on this below!). Add it slowly, a little at a time, whisking vigorously to incorporate fully and prevent lumps. As the liquid heats and simmers, the roux will activate and thicken the gravy. Bring it to a gentle simmer and continue to cook, whisking occasionally, until it reaches your desired consistency. This typically takes just a few minutes.
Flavor Powerhouses: Drippings, Broth & Creamy Varieties
While the roux provides structure, the true soul of your gravy comes from the liquid you choose. This is where you can truly customize the flavor profile to match your meal. For a deeper dive into these options, explore our guide: Master Homemade Gravy: Broth, Drippings, & Gluten-Free Choices.
The Magic of Pan Drippings
For an unparalleled depth of flavor, nothing beats pan drippings. These are the savory juices and fat left in the bottom of your roasting pan after cooking meat, like a turkey, chicken, or pot roast. To use them effectively:
- Remove Meat: Once your roast is done, carefully remove it from the pan and set it aside to rest.
- Separate Drippings: Pour the pan contents through a fine-mesh strainer into a heat-proof measuring cup or bowl. This will catch any larger bits of gristle or herbs. Allow the drippings to sit for a few minutes, and the fat will separate and rise to the top.
- Skim Fat: Carefully skim off the excess fat from the top using a spoon or a fat separator. You'll want to reserve some of this flavorful fat to make your roux, but discard most of it to avoid an overly greasy gravy.
- Deglaze (Optional but Recommended): For even more flavor, return your roasting pan to the stovetop over medium heat (after skimming fat if you choose to make the roux in a separate pan). Add a splash of broth, wine, or water and scrape up all the flavorful browned bits from the bottom of the pan with a wooden spoon. This liquid, combined with your skimmed drippings, will be incredibly flavorful.
Broths, Stocks, and Beyond
If pan drippings aren't available, or you're making gravy for a quick weeknight meal, high-quality broth or stock is your best friend. Chicken broth, beef broth, or turkey broth all work beautifully. For a vegetarian option, simply use vegetable broth.
Beyond traditional broths, don't be afraid to experiment:
- Wine: A splash of red or white wine can add complexity and brightness, particularly to beef or chicken gravies.
- Mushroom Broth: Excellent for a rich, umami-packed vegetarian gravy.
- Bouillon: While not as robust as homemade stock, good quality bouillon cubes or paste dissolved in hot water can be a convenient flavor booster.
Creamy Varieties: A Touch of Dairy
For gravies with a rich, velvety texture and milder flavor profile, milk or cream can be used as part or all of your liquid. This is how you achieve classic white gravy for biscuits, sausage gravy, or a creamy accompaniment for fried chicken or pork chops.
- Sausage Gravy: Brown sausage in a pan, then use the rendered fat to make a roux. Whisk in milk (whole milk works best for richness) and simmer until thickened.
- Creamy Meat Gravy: To any meat-based gravy, you can whisk in a splash of heavy cream or half-and-half at the end for an extra luxurious finish.
Making Gravy Right in Your Roasting Pan: A Chef's Shortcut
One of the most efficient and flavorful ways to make gravy is directly in the roasting pan. This method capitalizes on the residual heat and intensely flavored drippings, creating a seamless transition from roast to gravy. This is particularly useful when cooking a large bird like a turkey or a substantial beef roast.
Here’s how to make gravy in the roasting pan:
- Remove the Roast: Once your roast is cooked to perfection, transfer it to a cutting board or platter to rest. This allows the juices to redistribute, and frees up your roasting pan.
- Skim and Separate: While the drippings are still hot, carefully skim off any excessive fat or large pieces of gristle from the pan. You want some fat for flavor, but not so much that the gravy becomes greasy.
- Prepare the Slurry: For every 2 cups of drippings you have (measure roughly after skimming), whisk together 2 tablespoons of cornstarch with about 1/4 cup of cold water or broth in a small bowl until completely smooth. This creates a "slurry," which prevents lumps when added to hot liquid.
- Combine and Whisk: Place the roasting pan directly over two burners on your stovetop over medium heat (or transfer drippings to a large saucepan). Ensure the drippings are hot and simmering. Slowly pour the cornstarch slurry into the simmering drippings in the roasting pan, whisking continuously and vigorously.
- Thicken: Continue to whisk as the gravy comes back to a simmer. It will begin to thicken almost immediately. Cook for another minute or two, whisking, until it reaches your desired consistency.
- Season to Taste: Taste and adjust seasoning with salt, freshly ground black pepper, and any other herbs or spices you prefer.
This method leverages the delicious fond (the browned bits stuck to the bottom of the pan) for maximum flavor, making it a true shortcut to an incredible gravy.
Gluten-Free Gravy & Common Troubleshooting
Effortless Gluten-Free Gravy
Making a gluten-free gravy is surprisingly easy and requires just one key swap: cornstarch instead of flour. Remember, cornstarch is a more powerful thickening agent, so you'll need only half the amount you would typically use for flour. If a recipe calls for 1/4 cup of flour, replace it with 2 tablespoons of cornstarch.
The best way to use cornstarch is to create a "slurry" first. Whisk the cornstarch with an equal amount of cold liquid (water or broth) until it forms a smooth paste. Then, slowly whisk this slurry into your simmering hot liquid (broth or drippings). Continue to whisk and cook for a minute or two until the gravy thickens to your desired consistency. This method ensures a lump-free, beautifully clear gravy.
Troubleshooting Common Gravy Challenges
Even seasoned cooks encounter gravy hiccups. Here’s how to resolve the most common issues:
- Lumpy Gravy: Lumps usually form when flour or cornstarch is added directly to hot liquid without being properly combined with fat or cold liquid first.
- Fix: Vigorously whisk the gravy to break up lumps. If that doesn't work, pour the gravy through a fine-mesh strainer or use an immersion blender to smooth it out.
- Gravy Too Thin:
- Fix: For flour-based gravy, you can simmer it longer to reduce and thicken slightly. Alternatively, make a very small roux in a separate pan (1 tsp fat, 1 tsp flour), cook briefly, and whisk it into the thin gravy. For cornstarch-based gravy, make a small fresh cornstarch slurry (1 tsp cornstarch + 1 tsp cold water) and whisk it into the simmering gravy. Cook for another minute.
- Gravy Too Thick:
- Fix: Simply whisk in more hot broth, stock, or water, a tablespoon at a time, until it reaches your desired consistency.
- Bland Gravy:
- Fix: Taste, taste, taste! Adjust seasoning with more salt and freshly ground black pepper. Consider adding a dash of onion powder, garlic powder, a pinch of dried herbs (like thyme or sage), or a splash of Worcestershire sauce or soy sauce for added umami depth. A squeeze of lemon juice at the end can also brighten flavors.
- Greasy Gravy:
- Fix: Too much fat was left in the pan drippings. Let the gravy sit for a few minutes, then skim the excess fat from the surface with a spoon or paper towel.
Making delicious homemade gravy is an incredibly rewarding culinary skill that brings warmth and flavor to countless meals. From mastering the humble roux to harnessing the rich potential of pan drippings, you now have the tools to create a variety of gravies that will impress family and friends. Don't be afraid to experiment with different fats, liquids, and seasonings to tailor your gravy to any dish. With a little practice, you'll be wondering why you ever settled for store-bought. Happy cooking!
